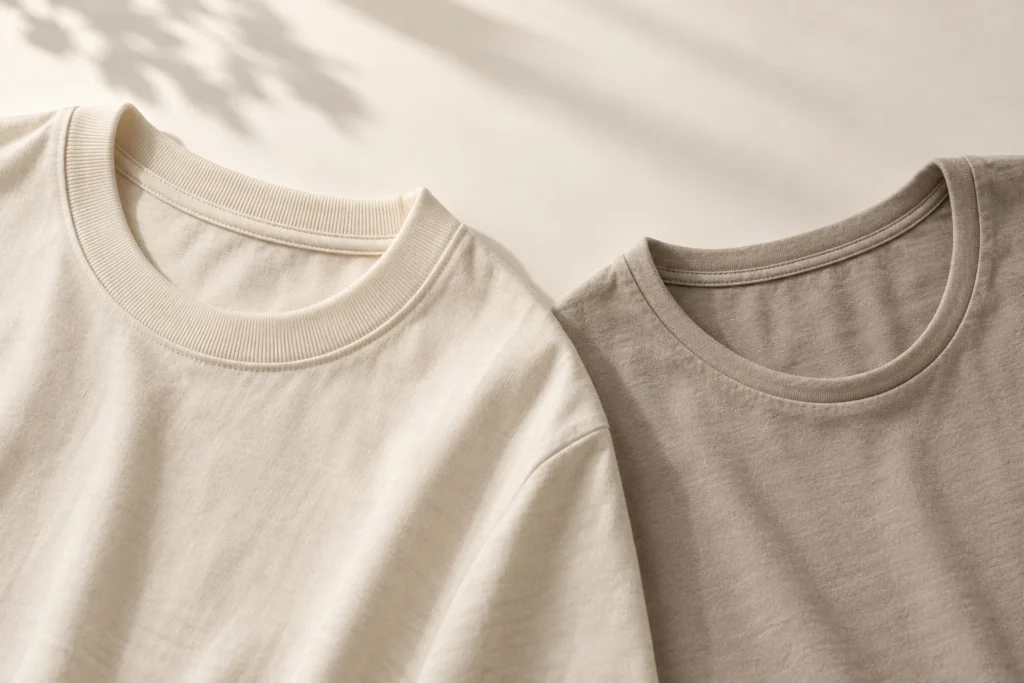
A crewneck can look tidy on a flat sample yet feel bulky against the neck or change shape after washing. For an independent basics brand, “rib collar” is therefore too vague to approve. The useful decision is how the neck edge and band are joined, what remains exposed inside, and which appearance and comfort checks the finished sample must pass.
Start with one target shirt and one base size. Keep the body fabric, neck material, opening shape, and care conditions the same when comparing construction options. Otherwise, a softer band or wider opening may seem like a seam improvement when it is actually a material or pattern change.
Choose the neck construction before choosing the stitch description
For an applied neckband option, include a buyer-defined request in the sample brief: ask the sample maker to specify the band material, how it joins the opening, and what remains visible inside. A bound edge wraps a strip around the neckline edge so the strip covers that edge. Coats describes bound seams as folded binding joined over a fabric edge and lists T-shirt necklines as an application. It also describes superimposed seams, in which fabric pieces are stacked and joined near an edge. These are construction descriptions, not a ranking of comfort or quality. Coats seam types
Ask the sample maker to show the proposed neckline from the front and the inside, plus a small sewn cross section if photographs leave the layer order unclear. Record whether the band is applied to the opening or wraps it, which edges are enclosed, and where the seam allowance sits. A stitch name alone does not tell a buyer all of this. Coats notes that seam type, stitch type, and thread choice vary by application. Coats seam types
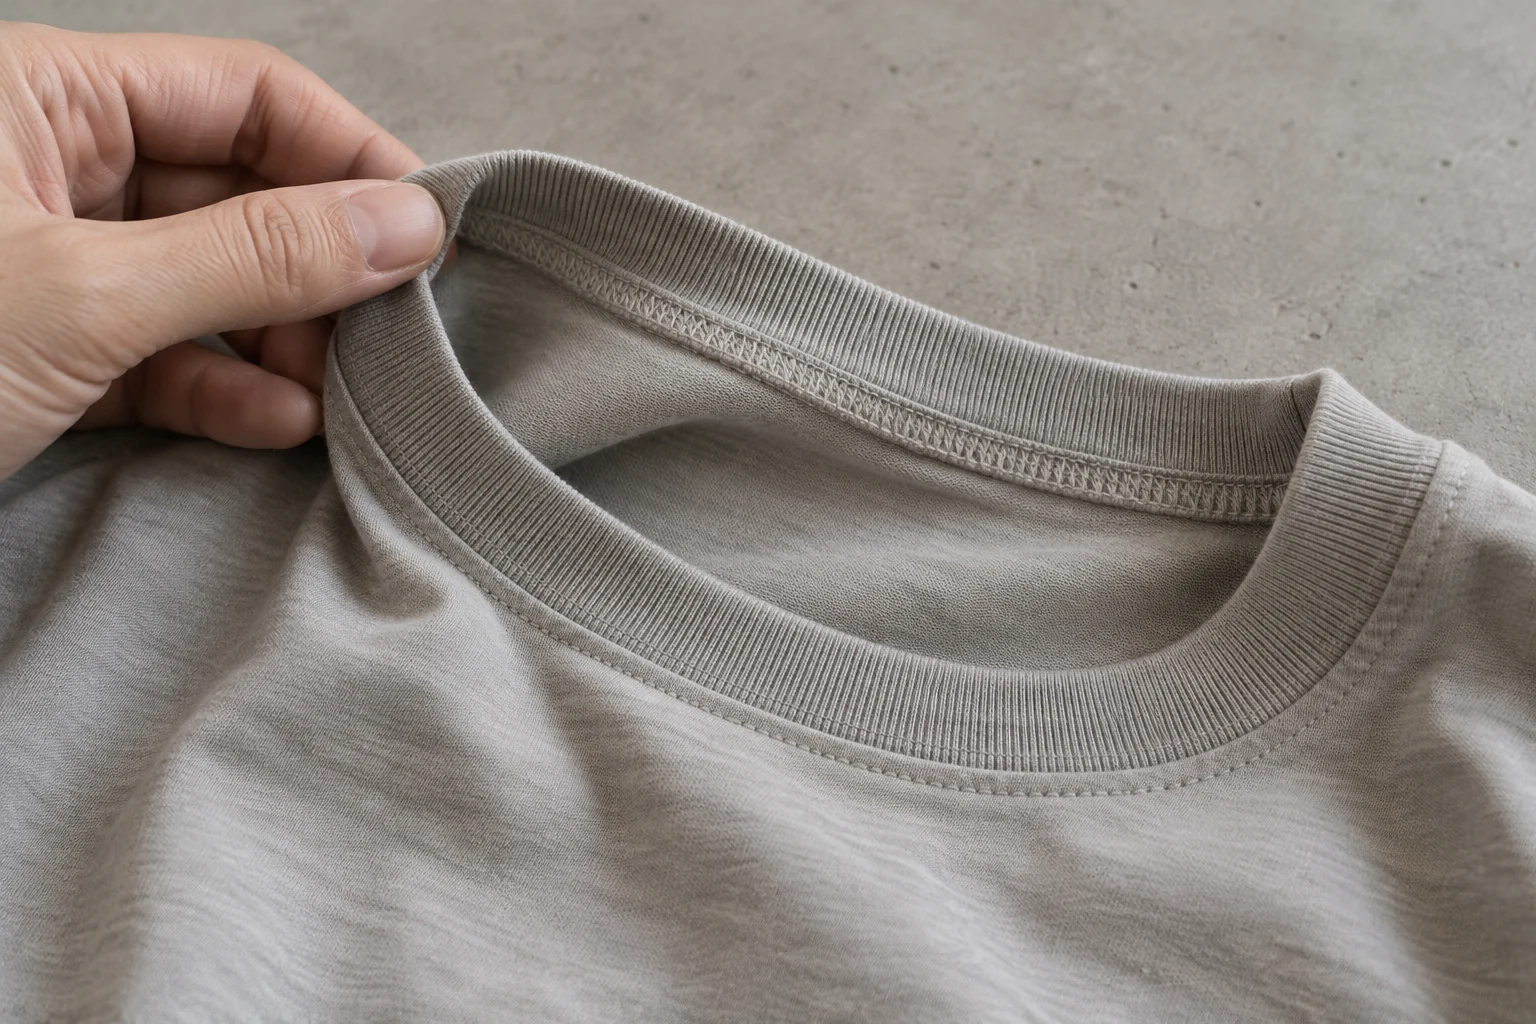
For a quiet basics look, an applied band with a restrained visible finish may be the first sample to assess. A wrapped binding may suit a deliberately framed edge. Treat these as design trials: band width, fabric bulk, thread, and the exact seam layout can change the result. Avoid approving a construction from a reference photo that hides the inside.
Specify the finish a wearer will actually feel
Separate attachment from finishing in the tech pack. State the desired face appearance: a clean join, a visible row of stitching, or another approved reference. Then describe the inside: whether the seam allowance is exposed, covered, or held flat, and whether any back-neck tape is required. If tape is proposed, identify its start and end points and inspect the extra layers at the shoulder transitions.
Also record the neckband material, finished width, join location, thread color, and whether topstitching is wanted. Mark the center front and center back on the sample photos so the reviewer can compare symmetry and how the band sits. Have the supplier identify the actual stitch and seam sequence used on the approved sample; do not substitute a generic instruction such as “double stitched.”
Comfort needs a wear check as well as a flat inspection. Feel the inside edge and the band join with a hand, then try the shirt on the intended fit model. Note any ridge, scratchy thread ends, pressure at the front throat, or tape edge that can be felt during movement. These are buyer acceptance observations, not claims that one seam class is inherently uncomfortable.
Run a controlled sample comparison
Request two complete shirts in the same base size, fabric, neck material, and pattern. Change only the neckline construction or finish under review. If the supplier must alter the neckband length to make a construction work, record that change so the comparison remains understandable.
Before laundering, photograph each shirt flat and on the fit model. Compare the opening shape, band width, seam smoothness, center alignment, and whether the neckline sits evenly from front to back. Measure the relaxed neck opening using one written method for both samples; also measure the body points needed to confirm the shirts are otherwise comparable. Put the measurements and photographs beside the construction notes.
For this buyer-run comparison, launder both samples under the care conditions intended for the product, then repeat the same review after they have dried and settled. CottonWorks says shrinkage characteristics relate to dimensional changes as well as seam puckering, skew, altered relationships between body cloth and trim, and changes in fit. CottonWorks on shrinkage and skewing Record these outcomes separately when reviewing the cared-for samples.
Check for ripples along the join, a band that stands away from the body, twisting, an opening that feels tighter or looser, and any new ridge inside. Photograph the same views again. If a formal appearance assessment is needed, AATCC TM88B is a method for evaluating seam smoothness after home laundering; its public summary says it can be used on washable knitted fabrics and does not prescribe a seaming technique. AATCC TM150 addresses garment length and width changes after home laundering and notes that it may not apply to certain stretch fabrics. Neither public summary supplies a ready-made acceptance limit for this brand’s collar. AATCC TM88B · AATCC TM150
Turn the preferred sample into an approval specification
Once a sample wins on appearance and feel, document what made it acceptable. A practical neckline approval record can include:
- Base-size neck opening and finished band width, with the exact measurement points and agreed tolerances.
- Body and band materials, plus the approved color and hand feel references.
- Layer order at the join, seam allowance direction, and any binding or back-neck tape coverage.
- Stitch type and visible stitch placement as used on the approved sample.
- Band join position, center-front and center-back alignment, and expected symmetry.
- Acceptable inside feel and visible smoothness before and after the agreed care trial.
- Front, back, inside, and close-up photographs of the signed-off physical sample.
Set tolerances from the product and sample results with the supplier. A number copied from another shirt may be unsuitable when the fabric or band changes. Keep the rejected sample notes too: “front edge rolled after care” is a more useful revision request than “make the collar better.”
If the brand is still choosing between a stock blank and a custom garment, the broader blank-versus-cut-and-sew guide explains when a fixed blank specification may limit changes. For this neckline decision, the key is to confirm what the proposed production route actually allows.
What to send in the supplier inquiry
Send a reference shirt or clear front and inside photos, the intended fabric and neck material, the base-size opening target, the desired visible and inside finish, and the planned care conditions. Ask for two construction options if the choice remains open, with each option identified by its layer order, seam finish, and sample cost. Request a physical sample and a record of any changes made to the pattern or band between versions.
The custom T-shirts page is the relevant product inquiry route. Ask the supplier to confirm feasible construction and quote for the specific brief. Approve the neckline on the finished, cared-for garment that buyers will experience, with its written specification attached.